-
To make the cake: Preheat the oven to 350°F. Grease and flour three 9" round cake pans, line them with parchment, and grease the parchment.
-
In a large bowl, using an electric mixer, beat the butter, sugar, and cooled chocolate together. Add the eggs one at a time, and beat until the mixture is fluffy.
-
In a separate bowl whisk together the flour, baking soda, baking powder and salt.
-
Combine the milks, vanilla, and coconut flavor in a large measuring cup.
-
Add the dry and wet ingredients to the butter mixture in thirds, alternating between them until all are incorporated. Stop the mixer, scrape the sides and bottom of the bowl, and beat for 1 minute more, to be sure the batter is evenly mixed.
-
Divide the batter evenly among the prepared pans, leveling the tops with an offset spatula. Bake the layers for 26 to 28 minutes, until the center springs back when lightly touched, and a tester inserted in the center comes out clean. Remove from the oven and cool in the pans on a rack for 10 minutes, then remove the layers from the pans and return to the rack to finish cooling completely.
-
To make the filling: Blend the shortening or shortening and butter with the coconut milk powder or flour. Add the coconut flavor, vanilla, and coconut milk, and mix until combined. Mix in the salt, then half the confectioners' sugar, until well blended. Mix in the marshmallow creme, then the remaining confectioners' sugar.
-
To make the frosting: Mix the butter and cooled chocolate together; beat in 1 cup of the confectioners' sugar. Mix in the vanilla, coconut flavor, and salt, then add the remaining confectioners' sugar 1 cup at a time, adjusting the consistency with unsweetened coconut milk as necessary, until you have a spreadable consistency.
-
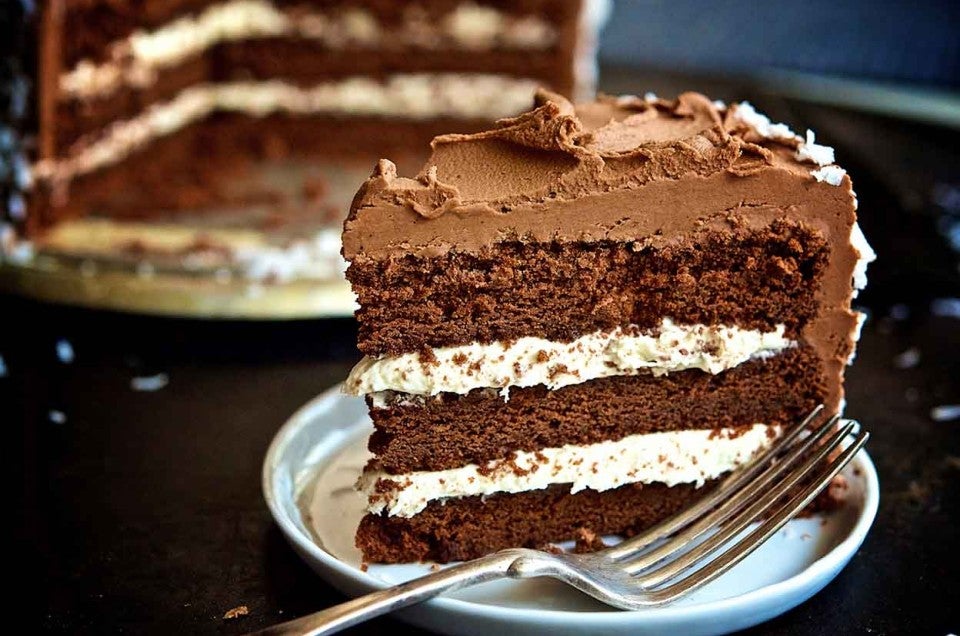
Trim any domes off the cake layers to make them flat, if necessary. Line a serving plate with strips of parchment or waxed paper, and place one layer, top down, on top. Spread with half the coconut filling. Place another layer over the filling, top down, and spread with the remaining coconut filling. Place the third layer on top.
-
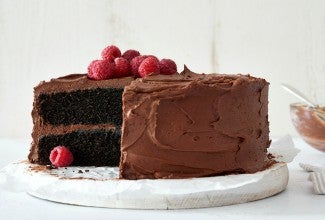
Cover the top and sides of the cake with a thin layer of chocolate frosting. Place the cake in the refrigerator for 30 minutes to firm up this crumb coat. Finish the cake with the remaining frosting. Garnish the top with some shaved or shredded coconut (or coconut flakes).
